Showing posts with label Crafts. Show all posts

Monday, March 4, 2013

Day Three Hundred Sixty Two: Terrific T-Shirt Necklace

One of the things I like best about Martha is how she can make something amazing out of nothing.  A couple eggs?  She'll cut herbs from her garden and whip up a gorgeous herb quiche.  Scraps of felt?  She'll make beautiful baby booties.

So I was intrigued when I saw Martha's Recycled T-Shirt Necklace.  It's an old t-shirt turned into a pretty darn cute necklace.  I had to see if it really could be done.

It starts with a regular t-shirt.  This is one I never wear.  The back is covered in sponsor names.  I'm pretty sure most people have a shirt that looks similar to this at home.


Cut off the bottom hem and discard.  Then cut the body of the shirt horizontally into strips.  This will make large loops.

Lots of loops:

One at a time, pull the loops and stretch the fabric until it starts to curl.  Stack the loops on top of one another so that all the side seams are in the same spot. They sort of look like thick pieces of yarn.  It doesn't matter what was printed on the shirt, now you can't see it anyway!


Once you have the thickness you desire, secure the seams with a scrap piece of fabric about six inches long from the same shirt.  


And the final product:

Um.....Shockingly cute, right?  Not bad for a shirt that was just taking up space in my shirt drawer.

Three days left.....

Friday, March 1, 2013

Day Three Hundred Fifty Seven: Pretty Recycling

On Saturday I'm celebrating the second birthday of a very sweet little girl.  I decided to use Martha's Recycled Bows to top her gift.  To start, you'll need one page per bow.  It works best if the page is mostly one color.

First cut the page lengthwise into nine 3/4-inch-thick strips of heights shown:  three at 11 inches, three at 10 inches, two at 9 inches and one at 3 1/2 inches.

Twist each strip to form loops at both ends.  Make a circle out of the smallest.  Secure the ends with a piece of double-sided tape. 

Layer and stick, starting with the longest strips.  End with the circle in the center.

 It's sweet....if slightly lopsided.  Thank goodness she is like most two-year olds and unlikely to notice.

Monday, February 25, 2013

Day Three Hundred Fifty Three: Happy Birthday Favors

As part of the favors for my birthday dinner, I spent the morning of my birthday making one of Martha's favorite chocolate chip cookies: Jacques Torres's Secret Chocolate Chip Cookies.  Since the recipe makes about 10,0000  100 cookies, it was no small task.  Even though I've made them before, I still love these cookies. I think I might have cooked a few batches a couple minutes long, but hey--a girl is sometimes too knee-deep in Downton Abbey to notice a timer chime.

I use an ice-cream scoop to make sure all the cookies are exactly the same size:

Once the cookies cooled, I put them in the favor boxes with the chocolate nut clusters, (minus the jam-filled muffin coffeecakes), along with a few other goodies. 

I tied them up with bakers string and topped the whole thing off with my personalized favor tag.

Even though my husband made fun of me for making them, I know several guests enjoyed them on the car ride home.

Happy Birthday to me.

Tuesday, February 19, 2013

Day Three Hundred Forty Six: Personalized Gift Tags

Friday is my birthday and my husband has set up a little dinner with a few friends.  Like us, they all have children and I know it is a sacrifice of time and money to celebrate with me.  As a thank-you, I'm going to make each of them a little basket of goodies to enjoy after the party.  

I'll be showing you what I make for the snacks later in the week, but I started last week by making personalized tags for each gift.  I used Martha's clip art from a wedding favor idea and had a personalized stamp made.  It has a vintage car on the top and says "Snacks for the Road" underneath.  


I stamped the design on a 4-inch square card stock.  In pink.  Because it's all about me.

They are really too cute.  I can't wait to attach them to the gift boxes.

Thursday, February 7, 2013

Day Three Hundred Thirty Six: Love Notes B.T. (Before Texting)

For all my jokes, I'm really a romantic at heart.  When I saw Martha's Antique-Style Valentine, I had to make it for my husband.  It's a little card, folded origami style.  According to Martha, it's a "puzzle purse".  In this version, a poem runs along the edges, starting outside the folded square.  The text, embellished with designs, is revealed in stages as the card is opened.

Looking at the directions, I was reminded of the notes my friends and I folded and passed between classes in junior high. Easy right?

You start with a square piece of paper:

Fold it into thirds, then rotate 90 degrees and do it again:

Then fold into the triangle, rotate 90 degrees and do it again:

When you finish yo have something that looks like this:

Confession:  it took me about ten pieces of paper to get to this point.  It's not as easy as it looks.

I'm not exactly sure how, but if you hold the corners just so, then dance around in a circle under the light of a full moon at midnight, your paper will fold up into a little star like this:
 

Martha's directions might as well have been in Chinese for all it helped.

Then fold up the corners of the star:

Tuck in the last flap and you have this:

Copy a suitably sappy poem inside. I used Shakespeare's Sonnet 116 ("Let me not to the marriage of true minds....")

It turned out pretty well.  My junior-high self would be highly impressed. 

My husband will think I'm weird.

Wednesday, February 6, 2013

Day Three Hundred Thirty Four: Conversation Starter

I found Martha's Conversation Piece Flower Arrangement a few weeks ago and decided to make it on Sunday.  Take two containers that fit inside one another, and fill the inner container with water and flowers.  Fill the gap in between the two containers with those adorable conversation hearts.  I've tried to capture the gap in this photo.


The finished arrangement is super cute, and quite a...Conversation Piece.

Hardy-har-har.  Sorry. Couldn't help myself.

Day Three Hundred Thirty Two: XOXO Martha!

With Valentine's Day fast approaching I thought I would make a few cards for my nearest and dearest.  With Martha's Basic Card-Making Tips, it would be a cinch.  Martha has a bunch of good ideas but the XOXO card caught my eye.

Once you print and cut out the template, fold a piece of paper accordion style and copy the template onto your mini accordion.

 
Once it's cut out and mounted to the inside of a card, it looks like this:


You'll feel like Edward Scissorhands...only (hopefully) you have better hair.

xoxo,
MRS

Tuesday, February 5, 2013

Day Three Hundred Thirty: Won't You Be My Valentine Garland?

Valentine's Day is coming soon and my kids and I are getting ready to celebrate.  Wednesday we made Martha's Valentine's Day Heart Garland and check out how adorable it turned out.


It was super easy:  after printing out the template, we cut hearts from four different types of paper.  When finished, the hearts are linked through a small slit in the bottom of the heart.  Glue the bottom of the heart back together and you have one adorable Valentine's Day decoration.

Saturday, December 22, 2012

Day Two Hundred Eighty-Nine: Candy Cane Mice

My kids are out of school for the holidays.  This means that for the next few weeks I am the Entertainment Director for my household.  On Thursday, I decided to make Martha's Candy Cane Mice with the kids.  Martha made hers with felt, but we used paper and a glue stick. I printed out the template and helped the kids trace it onto the paper.  They cut out the pieces and assembled with my help.  

Aren't they cute?  We cut out so many Cinderella would have been jealous.

In the end, there were small pieces of paper everywhere.  My daughter had a piece glued to her face.  But, they had more fun playing with these little mice than should be legal.  And they ate the candy canes.  A toy that's also a sweet treat?  Santa was listening.  

Saturday, December 1, 2012

Day Two Hundred Sixty-Eight: Adorable Photo Garland

I'm hosting a Sip and See for a friend and her baby on Saturday.  My house is decorated for Christmas, but I wanted to do something special for the baby.  I decided to take some photos of my friend and her little angel and create Martha's Photo Garland.  It's such a cute idea, I'm sure I'll use it again in the future.  After printing the photos, I just clipped them to some ribbon using miniature clothes-pins.


So.  Stinking.  Cute.

Day Two Hundred Sixty-Seven: Rosy Bows

I put up outside decorations every year, but this year I had to update the 1990s ribbon and bows I had used in past years.  :so last decade:

I found some pretty ribbon and Wednesday I spent part of the morning making nineteen 15-inch bows for the outside of my house.  I used Martha's Rosette Bow, which is easy but each bow takes about five yards of ribbon.


I only had to return to the store for more ribbon once, which I consider a small victory.

Tuesday, November 27, 2012

Day Two Hundred Sixty: Clever Bottle Wrap

Last week was Thanksgiving and I had the good fortune of going to someone else's house for dinner.  Being a good dinner guest, I brought the obligatory bottle of wine.  I actually wanted to bring more than one bottle so I used Martha's Bottle Wrap idea to wrap them together in one adorable package.

Seriously? How cute is this?

Just take a piece of fabric and lay two bottles on their sides, bottoms facing each other.  Roll them both up in the fabric and tie at the top.  Decorate them with a couple pinecones you nicked from your friend Sybil's yard and you have a unique presentation of a not-so-unique gift.

Tuesday, November 20, 2012

Day Two Hundred Fifty-Eight: Thanksgiving Turkey Napkins

We are headed out-of-town for Thanksgiving.  My husband's sweet sister is hosting so she'll be the one  slaving in the kitchen all day.  Frankly I feel a little useless.  And since I'm traveling across the country on Thanksgiving day, I can't even offer to bring anything.

Maybe I could fit a small bag of salad inside my carry-on.  

Just to get into the spirit of things though, I decided to try Martha's Turkey Napkin Fold.   It's a napkin! Shaped like a turkey!  How cute is that?  It's also pretty simple.  Don't get too excited though, and start planning your Thanksgiving table.

Each turkey takes three napkins to make.  So that's only 24 napkins for a table of eight people.

Not ridiculous at all.

Let me add that Martha's napkin fold looks like an anatomically correct bird.  Mine is more of an artistic representation:  

Thank goodness I'm not hosting Thanksgiving.

Day Two Hundred Fifty-Seven: It's a (Translucent) Wrap

I celebrated the birthday of a good friend on Monday.  I wanted to do something special in the wrapping-department so I decided to try Martha's Translucent Wrapping Paper.  Start by wrapping a present in brightly-colored wrapping paper.  Next, take a piece of tissue or glassine and make random folds in the paper like so:


Then wrap the present in the folded tissue to create something chic and interesting.  These are Martha's colorful gifts:


Gorgeous, aren't they?


This sad one is mine:

:yawn:

Not quite the pretty product I was expecting.  Luckily, the present inside was pretty cute.
:excellent gift-shopper:

Wednesday, October 31, 2012

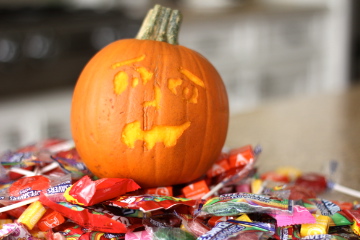
Day Two Hundred Thirty-Six: Pumpkin Carving for Lazy People

Sunday was pumpkin carving and decorating day.  My kids had a pumpkin decorating contest at school and so we spent days hours cutting, cleaning and decorating pumpkins. When we were finished I chose to try Martha's Funny Face Pumpkins.  Confession:  I chose this pumpkin because it only involves scraping the design into the skin of the pumpkin. You don't have to cut into and clean the inside of the pumpkin. At that point, I was done cleaning pumpkins for the year.

Martha's pumpkin looks satisfactorily goofy.  I copied the template and scraped mine using the sharp end of a vegetable peeler.  Unfortunately mine didn't come out looking goofy...he looks more pained:


Maybe he had too much candy.

Day Two Hundred Thirty-Five: Not Your Mama's Paper Chain

My kids woke up at 6 a.m. on Saturday.  They were unbelievably excited for my son's birthday party that morning. All that energy had to be channeled somewhere, so I had them help me with Martha's Curled Paper Chain that I planned to use for decoration at the party.  "Plan" is probably a misleading word, since I just decided to make it around 6:15 that morning.  Before coffee.

It's basically a regular paper chain you used to make as a kid, but every alternating chain is curled to give it a festive look.  My son cut, I curled and my daughter glued.  It took us about an hour to make forty feet of chain.  I suspended it from a tree that hung over the main table. It moved in the wind and made lots of satisfactory swishy sounds.


So cute and festive.

Sunday, October 28, 2012

Day Two Hundred Thirty-One: Howl-o-ween Costume Inspiration

My friend and neighbor Christine has an annual Halloween party.  A Halloween Bash would probably be a better description:  anytime 100 people in full costume get together it's bound to be a wild time.

Deciding on a costume for my husband and I is always a bit of a conundrum.  What to be?  Being a thirty-something mother of three excludes some of the more common costumes (scantily-clad vampire/pirate/nurse/superhero/etc).  I hoped Martha could provide some inspiration.  And that's how I found this photo of a Carmen Miranda headdress.  Yes, technically this is a pet costume. Bear with me and try not to laugh too hard.

I started out with a bunch of fake fruit and two large black dinner napkins.  Add a whole lot of hot glue and a couple feathers and you have:


Yes, it was heavy, but I managed to keep it on all night long.
Thank you, Martha for the idea....and thank you, Fido for the being such an inspiring model.

Thursday, October 18, 2012

Day Two Hundred Twenty-Five: Terrible Shrunken Apple Heads

Did you carve apples to make Shrunken Apple Heads as a kid?  I didn't and apparently I'm the only child in America who didn't have this experience.  On Saturday I made Martha's Shrunken Apple Heads with my kiddos.  They "helped" by dictating what the heads would look like.  I carved.

By the way:  I'm terrible at carving apples....even using my kids as an excuse, my apples look like a chipmunk stole an apple and got bored half way through the meal.

I wanted to blog about it on Saturday but since I'm a shrunken-apple-head newbie, I didn't realize the apples take days to shrink.  One of our apples on carving day:

Another face on carving day.  No, the photo is not out of focus.  That's my wicked carving skills at work:

So now it's five days later and my apples have not really shrunk.  At least they have evenly browned:


Seriously.  These are pathetic.  I want a do-over.

Friday, April 27, 2012

Day Fifty Two: Pedal Party Napkins

Tomorrow I'm hosting a progressive dinner.  Specifically, I'm hosting the main-dish course of a three-course progressive dinner.  Between courses myself and thirty-nine of my friends are going to cruise around our historic neighborhood on a couple of these:


It's a progressive pedal party.  Yes, it's a very large tandem bike with a bar in the middle.  No, this was not my idea.

The evening should be interesting, to say the least.

So today I set up the tables for the main course.  We are serving dinner buffet-style, but I wanted to set the table with glasses and utensils beforehand.  Martha has some very fancy napkin folds, but I just chose a simple napkin fold that would incorporate the utensils.

Forty napkins:

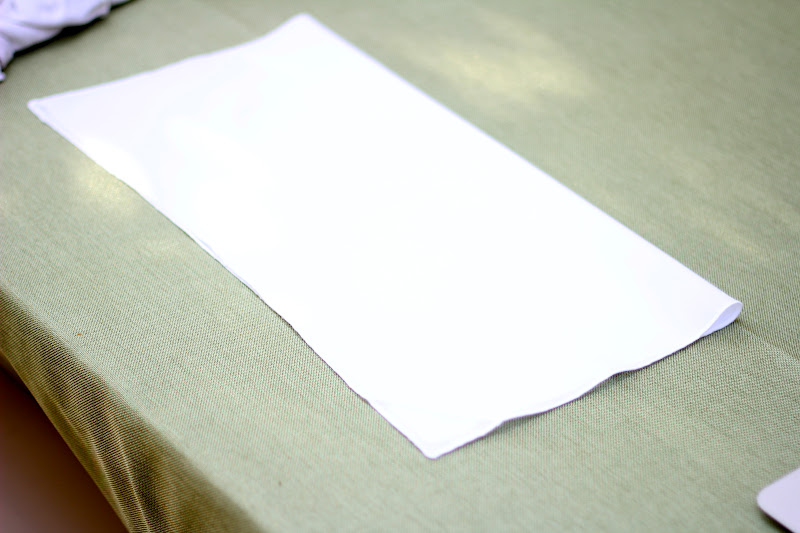
Start with a flat napkin:

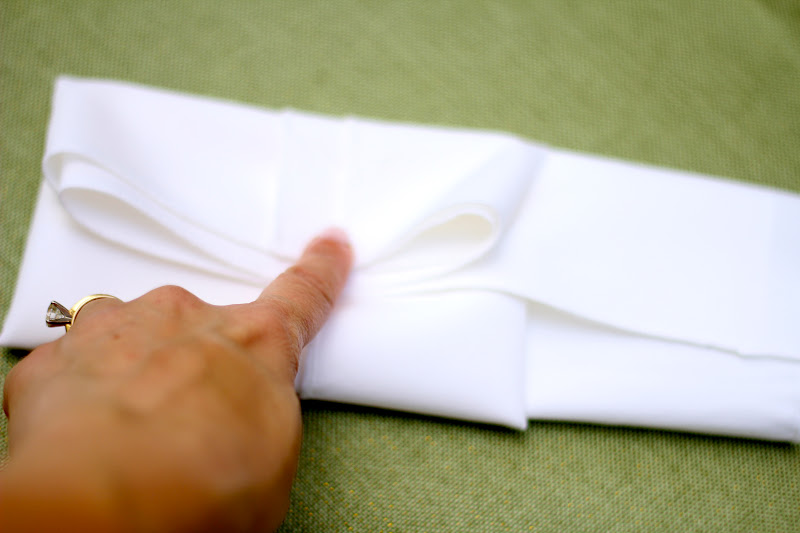
Fold in half:

Then fold in half again:

Fold down one edge:

Flip over napkin and fold back edges to create a little pocket:


Pocket completed:

Do's and Don'ts:

Do:  Immediately put utensils in the little pocket.
Do:  Fold these napkins inside.

Don't:  Sit outside enjoying the nice weather while completing this chore.
Don't:  Fold approximately half of these napkins, fail to put the utensils inside, then be surprised when the entire pile blows away in the first strong wind.

And this is why the last photo is taken inside.

More about the Progressive Pedal Party tomorrow.